Table of Contents
A working heating and cooling system is crucial for interior comfort. This system’s floor register, often called a floor vent or air vent, lets air flow in and out of the HVAC ducting. Floor registers might wear out and need to be replaced for adequate airflow.
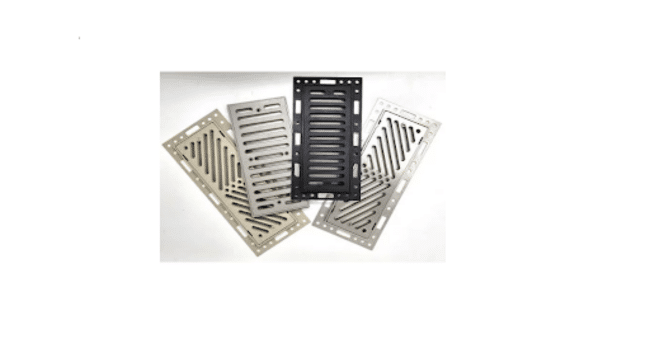
Flush mount floor registers are an excellent option for updating your house or replacing a broken or inefficient floor register. These registers are flush with the floor for a clean look.
Steps to Correctly Install a Floor Register:
-
1st Step: Measure Register Opening
To measure the aperture for a flush-mount floor register, remove the old register and measure its length and breadth. Note the dimensions when choosing a new register. If the old register cannot be removed, visit a home improvement shop for assistance. If needed, remove the old register.
-
2nd Step: Removing the Old Register
Remove the old register from the aperture. Using a screwdriver or hands, ensure the old register is no longer securely fastened to the floor. Clean the floor opening for dust or dirt and dispose of broken or worn registers. If in good condition, keep them as a spare. Prepare for the new flush-mount floor register.
-
3rd Step: Floor Opening Preparation
To install a new flush-mount floor register, clean and prepare the floor opening after removing the old one. Check for dust and blockages and adjust if necessary. Trim or level the opening edges and clear any impediments. A clean, flat surface is needed for the installation. Install the new register structure.
-
4th Step: Mounting Frame Installation
To install a flush mount floor register, align the frame above the floor opening, draw it on the floor, drill pilot holes, position the frame, and secure it to the floor using the right fasteners. This ensures stability and performance, connecting ductwork to the new register.
-
5th Step: Connecting the Ductwork
Connecting ductwork to a flush-mount floor register is crucial for effective heating and cooling. It involves placing the duct aperture on the frame, adjusting the aperture, and connecting the ductwork to the correct hole. Secure connections with foil tape or sealant are essential.
-
6th Step: Securing the Floor Register
Secure the flush mount floor register after installing the mounting frame and ductwork. Align the register with the mounting frame screw holes, tighten screws, and ensure it’s level and flush with the floor. Tightened screws ensure a stable installation. Check airflow after securing the floor register.
-
7th Step: Check Airflow
After installing a flush-mount floor register, check the airflow to:
- Ensure your HVAC system functions correctly.
- Activate the system and inspect for obstructions in floor registers or nearby furniture/rugs. Confirm that the temperature at the registers aligns with the thermostat setting.
- Address any air leaks or ensure proper ductwork connections to optimize airflow.
HVAC experts can identify and resolve airflow issues, maintaining a comfortable indoor environment.
An attractive floor register integrates seamlessly with your heating and cooling system to improve styling and performance. Follow these steps to install the flush mount floor register with minimal hassle.
Read More on KulFiy
16x24x1 Furnace AC Air Filters: Your Complete Buying Guide
The Importance of Regular Air Duct Cleaning: Enhancing Indoor Air Quality
